I get it. You love designing, painting, pouring resin, using your Cricut (or other die cutting machine), etc., but there's one problem.
"I have all of these great tools but don't know what to make that won't end up sitting in a storage drawer somewhere."
-or-
"That's cool, but I would never use it."
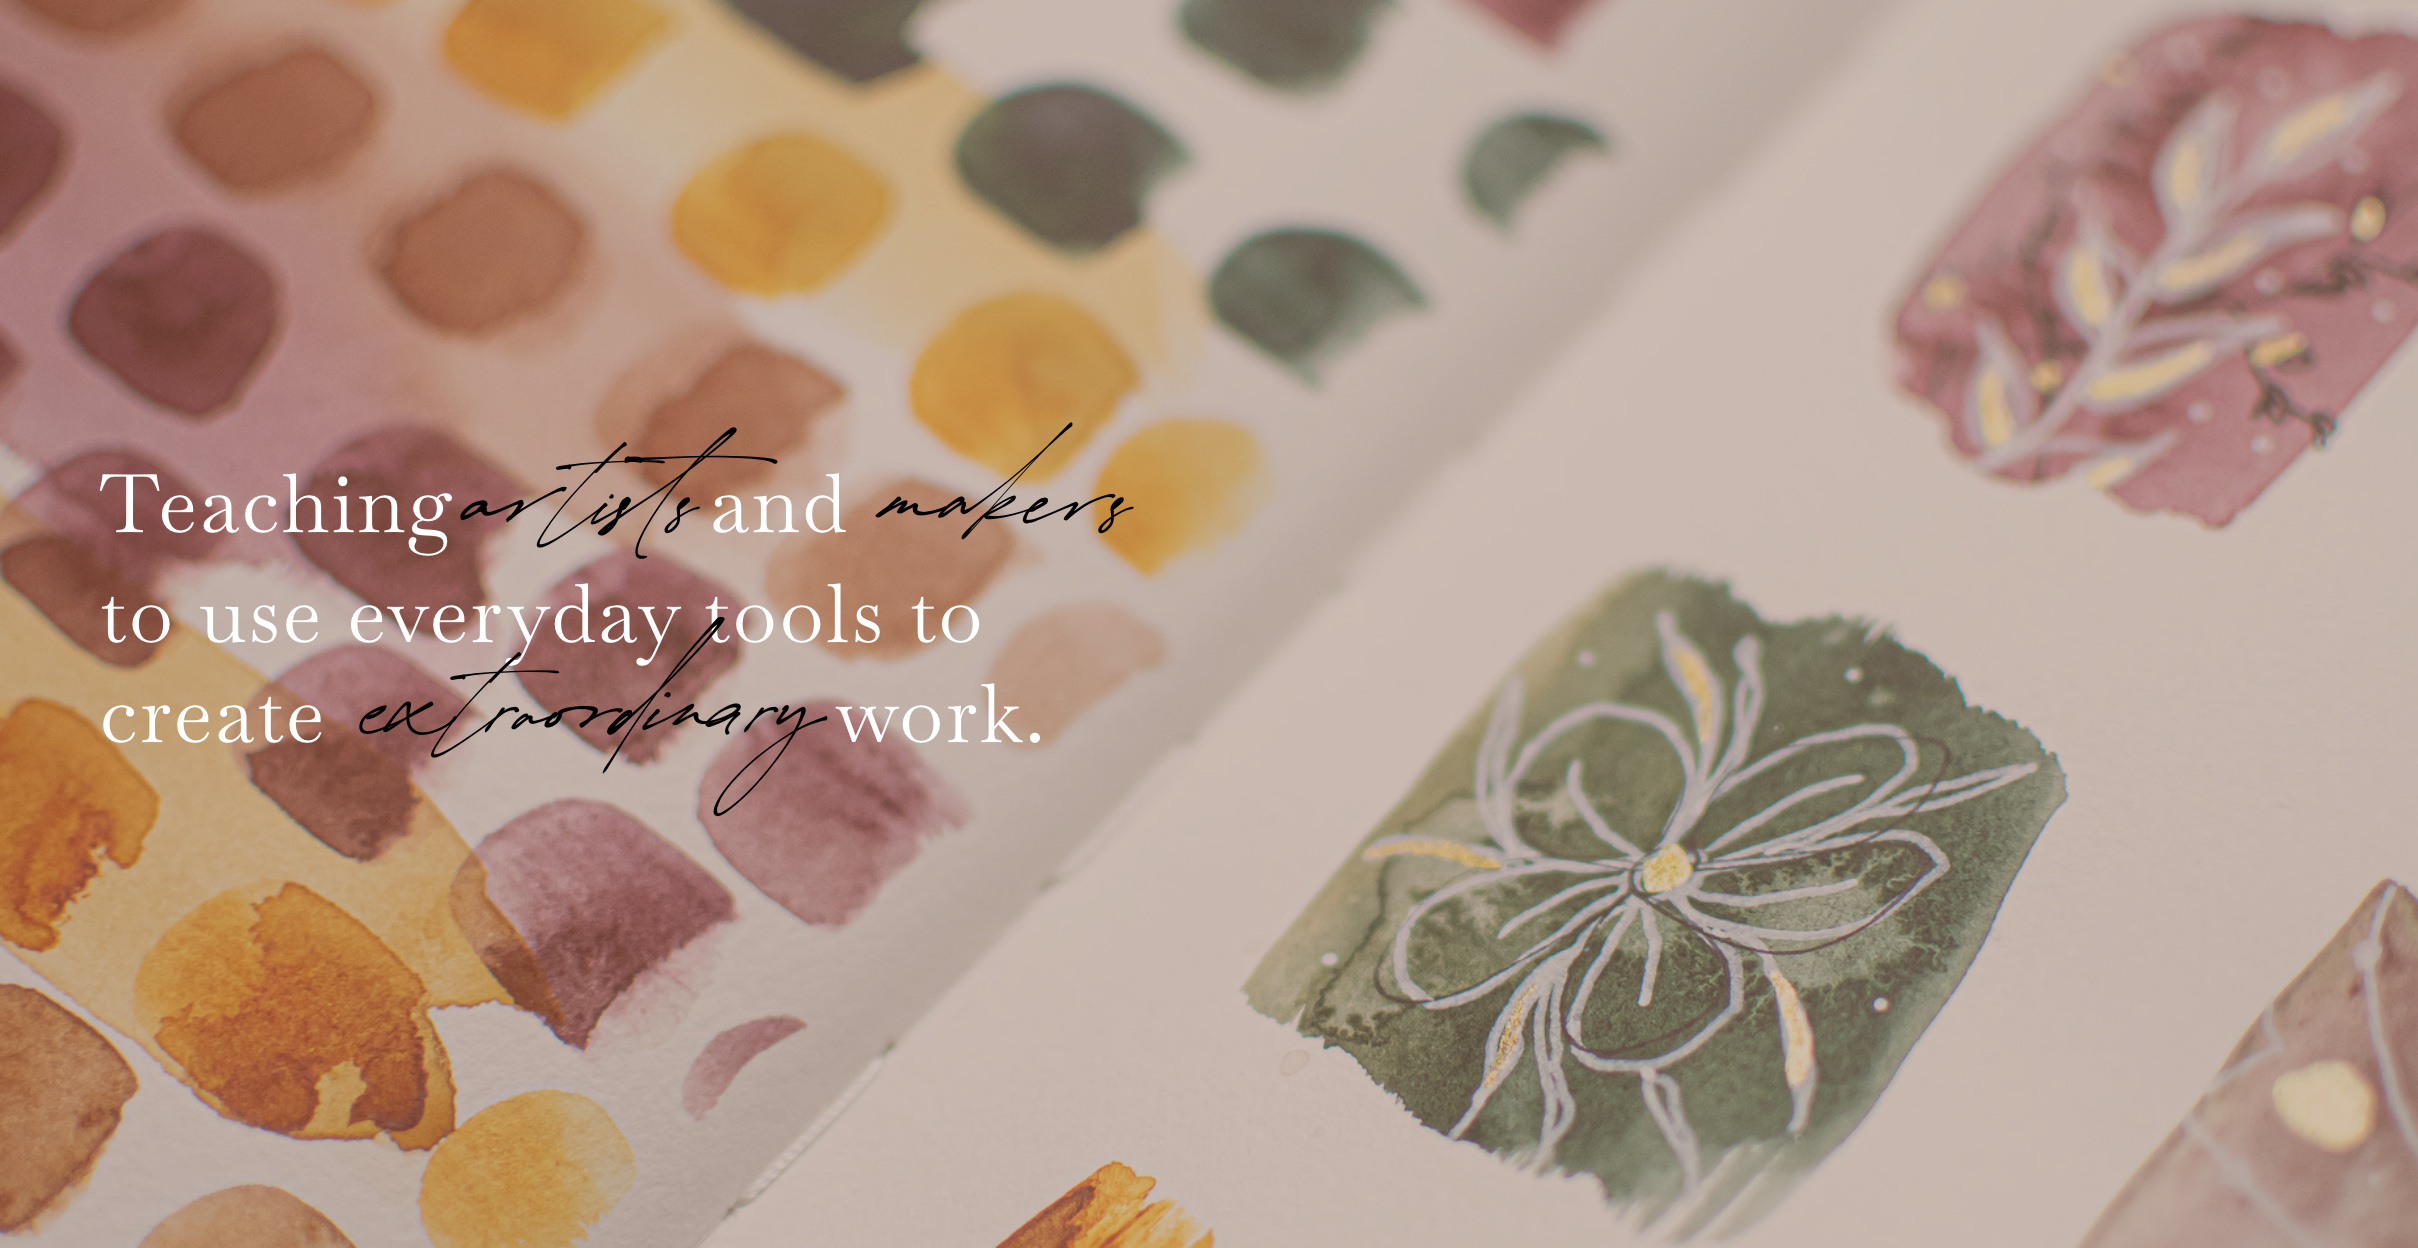
I'll teach you new ways to utilize your every day tools to work to your advantage.
Free Quick Start Card Making Course
"My goal is to teach and inspire you to create extraordinary work in ways you may have never thought of."
- Jen Shannon
Create extraordinary work from ordinary tools.
Get inspired to explore your tools in a way you may have never thought. I can't wait to see you in one of my courses. -Jen